OUI(Oracle Universal Installer)でのオペレーションを以下に記載します。
Oracle Linux8.5 のインストールについてはこちらにあります。
今回は「ソフトウェアのみの設定」を選択します。デフォルトで選択されている「単一インスタンス、、、」ではデータベースの作成までいくのですが、途中リスナーの設定部分が省略されていて、そのままではエンタープライズマネージャもひと手間かけないと立ち上がらない事になっているためです。
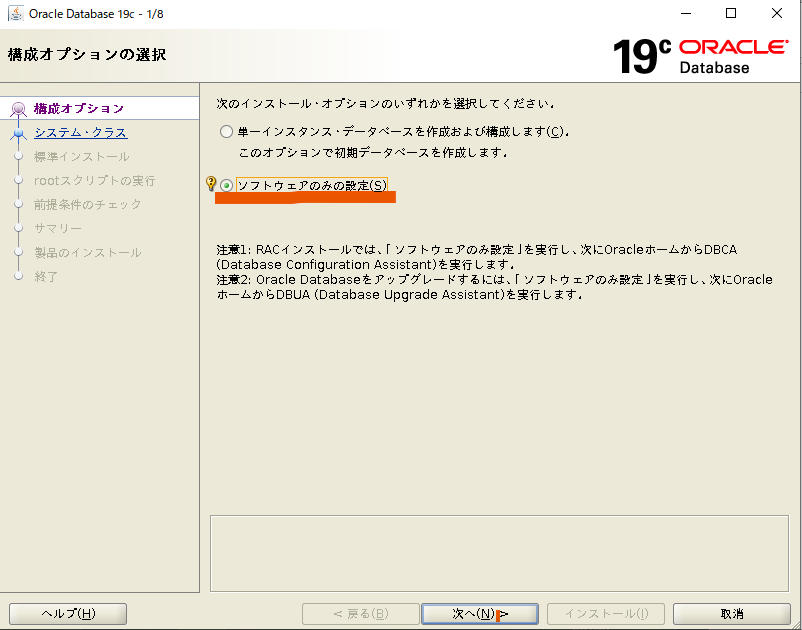
単一インスタンスを選択します。(RACは今回不要です)

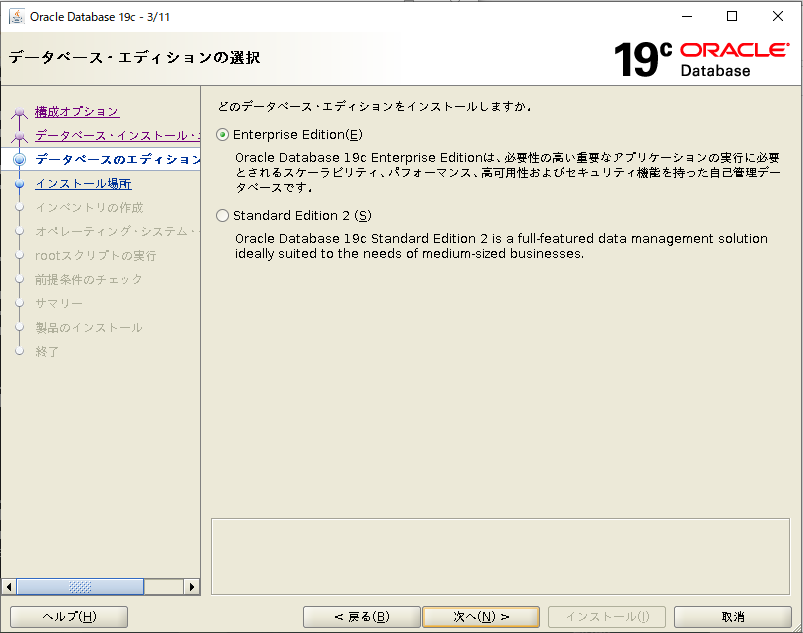
Enterprise Editionを選択します。
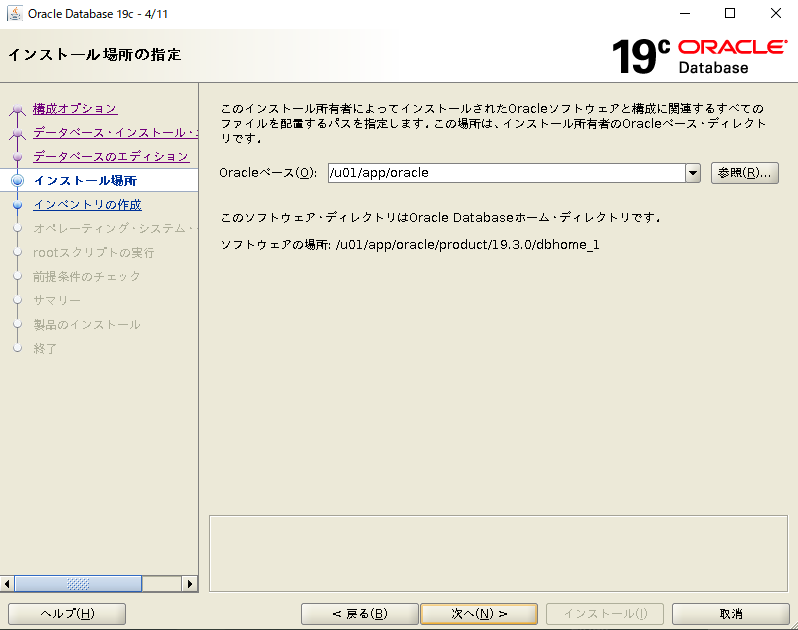
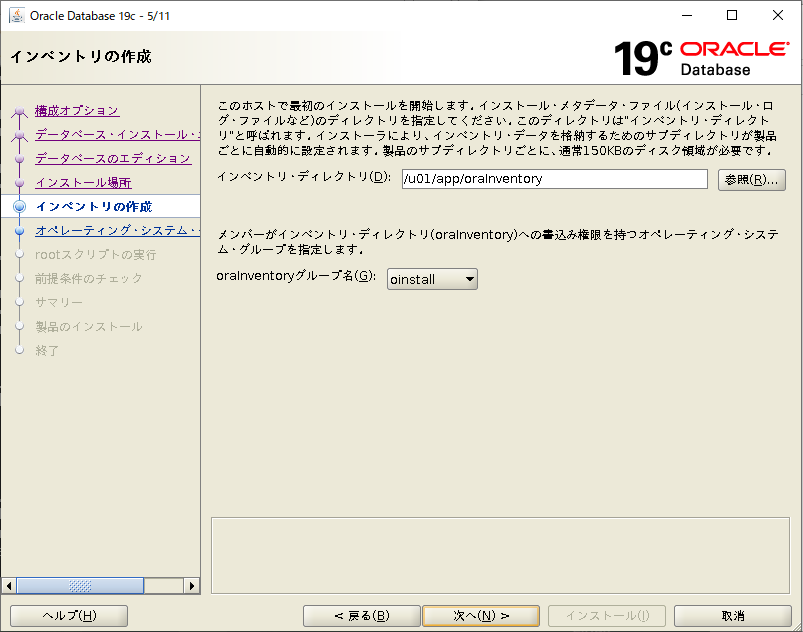
そのままです。
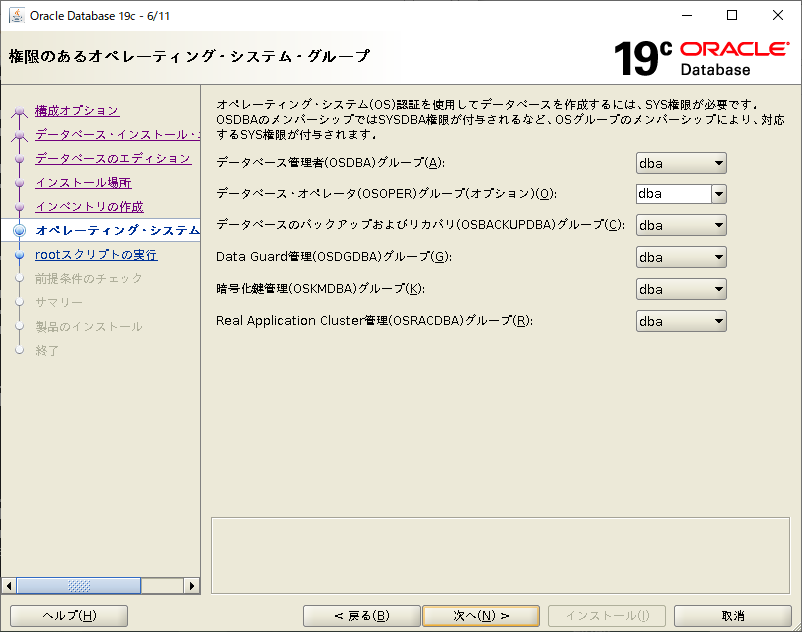
そのままです。
そのままです。
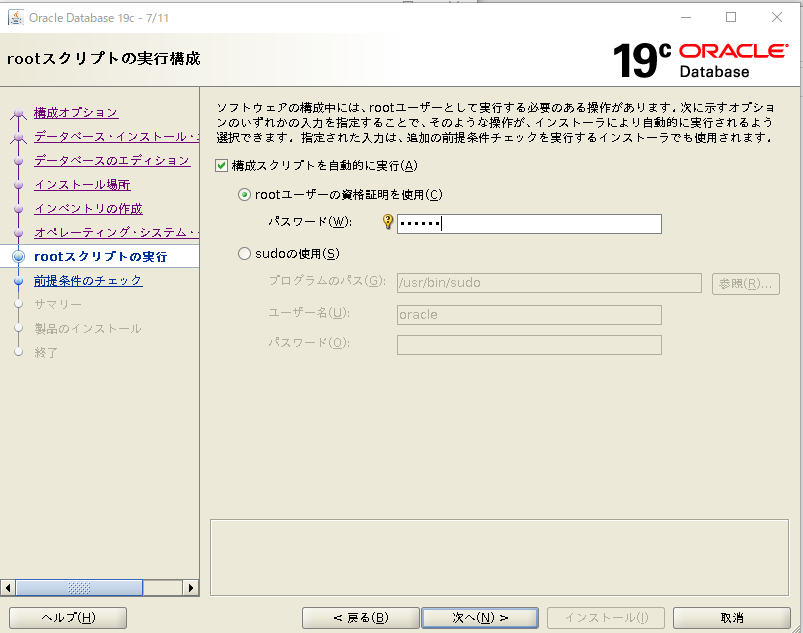
構成スクリプトを自動的に実行を選択しrootパスワードを入れた後次へボタンで前提条件チェックが始まります。

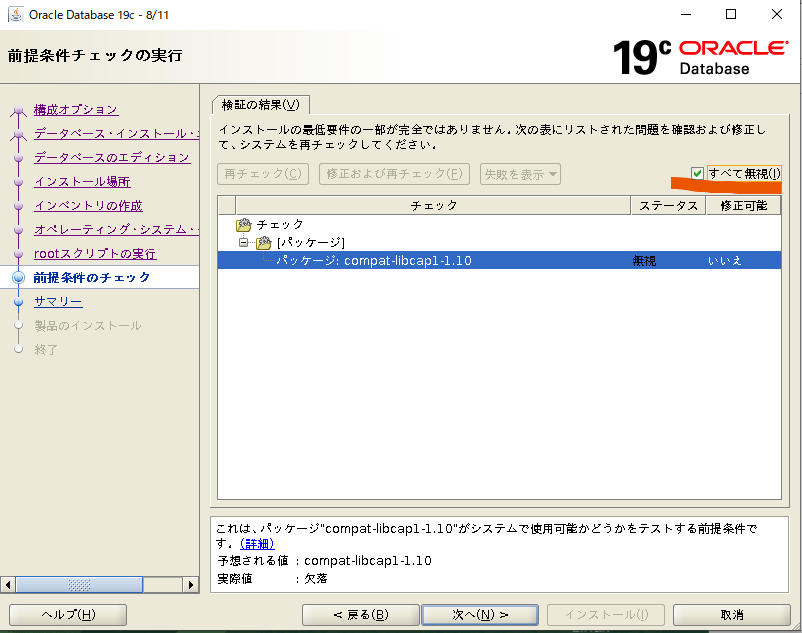
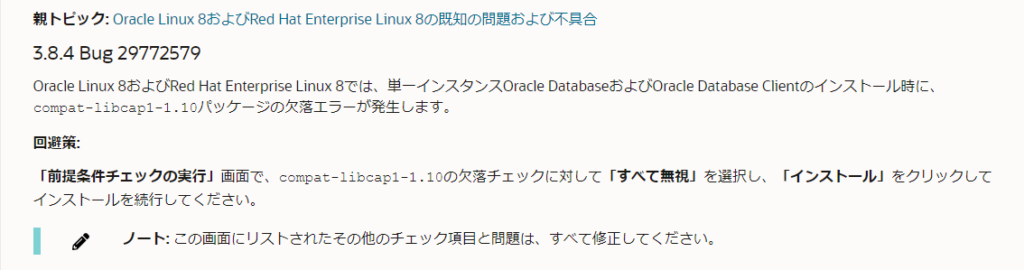
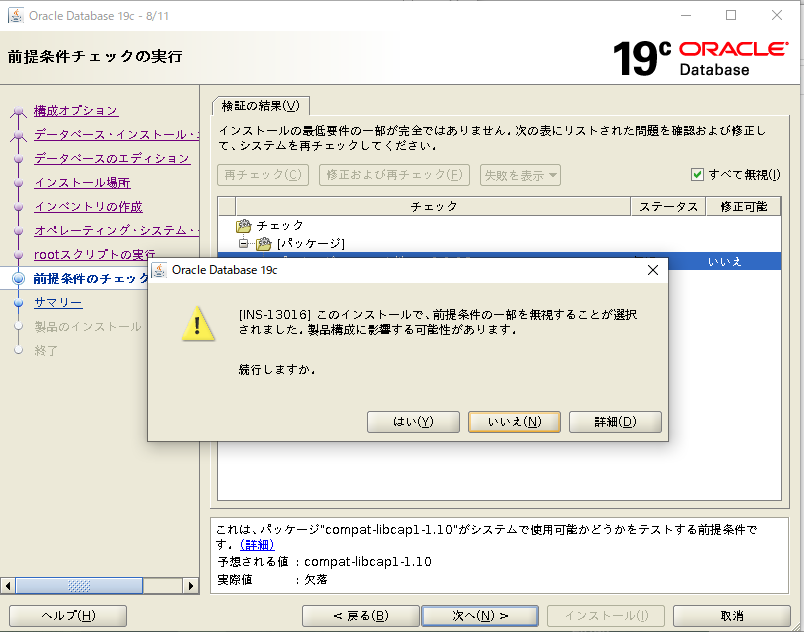
ここで「compat-libcap1-1.10パッケージの欠落」エラーが出てくるのですが、これは既知の不具合です。「すべて無視」を選択し次に進みます。

データベース・リリース・ノート
これらのトピックでは、Oracle Database19cのLinuxの最新の機能と変更について説明します。
docs.oracle.com
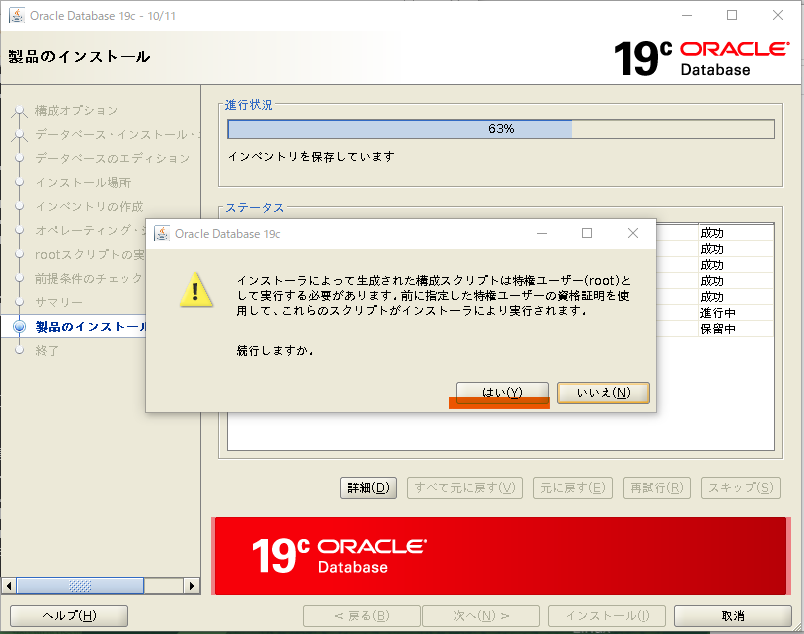
というわけで「はい」で続行します。
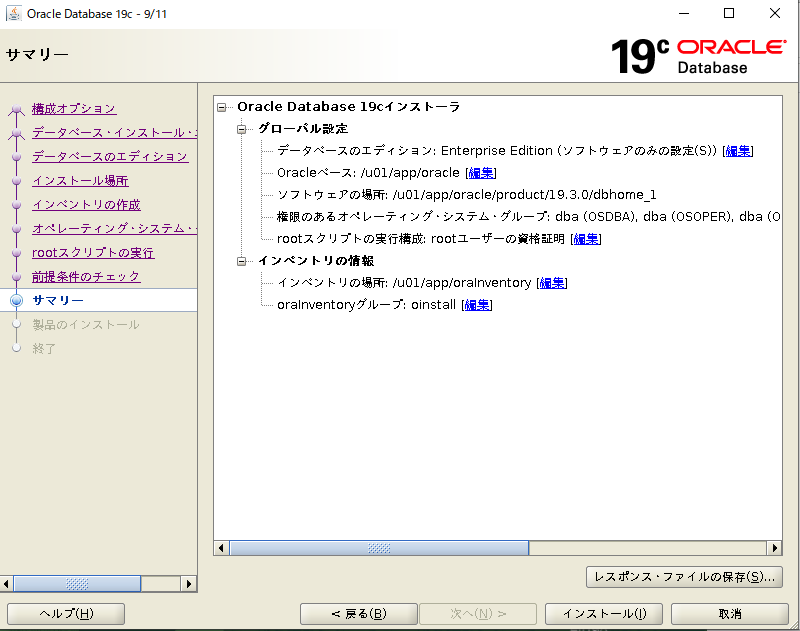
ようやくインストールボタンを押すことができます。
インストールボタンで以下始まります。
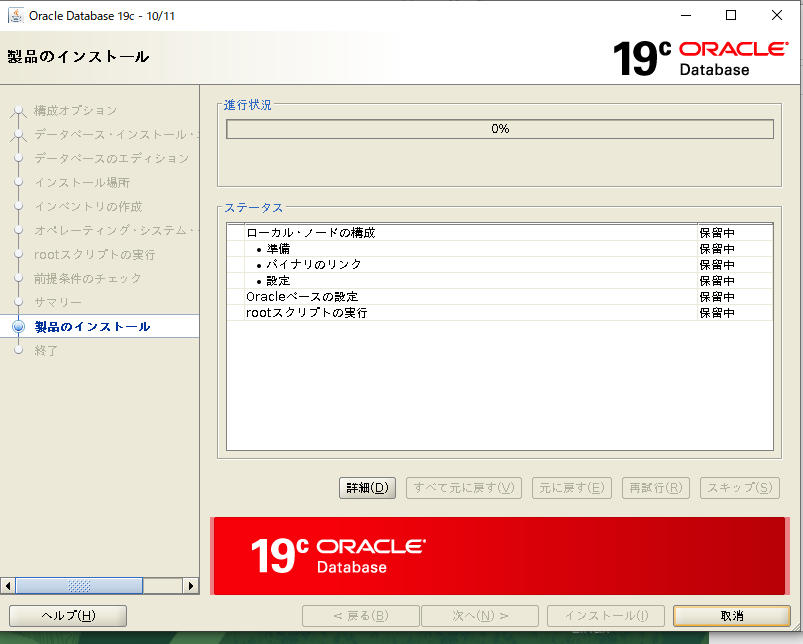
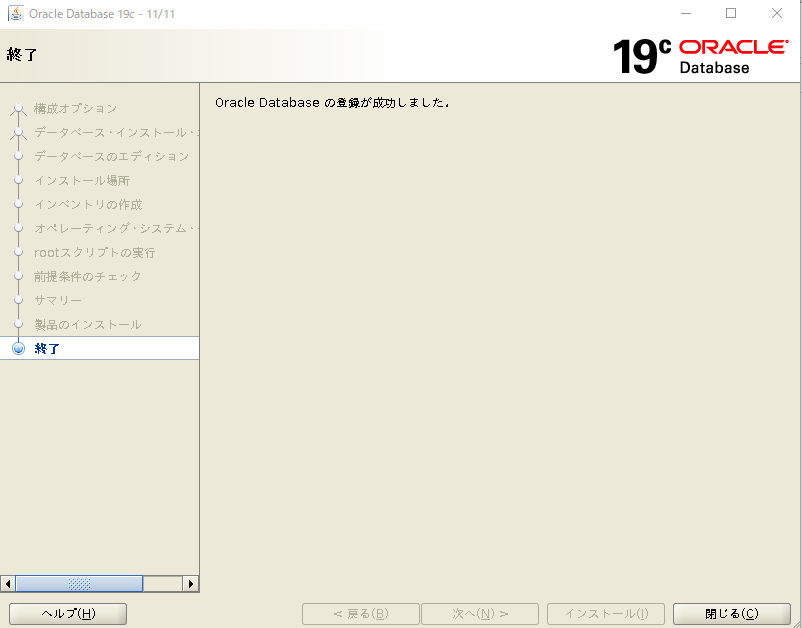
ようやくこれでOracleデータベースのインストールが完了しました。次はdbsaを使いデータベースを作成します。